Your Self-Tape Track Should Be Heard, Not Fought
By Broadwaytrax Content Studio · August 5, 2026
Updated August 5, 2026
A musical-theatre self-tape can look polished and still fail the first listening test. If the accompaniment swallows the lyric, disappears behind the singer, starts before the camera is settled, or ends several seconds after the cut, the panel has to work around the file instead of watching the performance.
The best self-tape backing track is not the loudest or most elaborate version. It is the one that gives the singer a clear entrance, keeps the cut moving, and lets the voice remain the most important sound in the recording.
Build that balance before the final take.
What should a musical-theatre self-tape backing track do?
A self-tape track should provide dependable accompaniment for the exact audition cut while leaving the singer easy to hear. It needs a usable lead-in, the correct key and tempo, a clean ending, and enough musical information for the performer to enter confidently without a live pianist in the room.
For most auditions, that means the file should:
- match the requested cut length;
- begin with a clear count, pickup, or musical landmark;
- use the key the singer has actually rehearsed;
- preserve the intended groove without rushing the acting;
- avoid guide vocals in the submitted take unless the instructions specifically request them;
- and finish with a button, cutoff, or fade that supports the performance.
Always follow the casting notice first. If the instructions specify repertoire, duration, framing, slate information, filename, or accompaniment format, those requirements outrank a general setup guide.
Choose the cut before you choose the setup
Do not record the whole song and hope to trim it later. Decide the exact beginning and ending before placing the speaker or camera.
Mark:
- the first lyric the panel will hear;
- the musical pickup before that lyric;
- the last lyric or dramatic thought;
- the final chord, cutoff, or button;
- and the total running time from the start of the file.
A 60-second request is not a reason to build a 60-second wall of singing. Leave enough time for the accompaniment to establish the entrance and for the ending to land. If a long introduction, dance break, repeated chorus, or extended outro consumes the limit, edit the audio rather than forcing the acting to race.
The Broadwaytrax guide to (building a clean audition cut) explains how to choose start and stop points that still tell a complete story.
Give the singer an entrance the camera can capture
An entrance that feels obvious in rehearsal can become uncertain after the performer presses record, walks to the mark, settles, and waits for the track.
Use one repeatable sequence:
- Start the camera.
- Move into the approved frame.
- Complete the slate if one is required.
- Take one quiet breath.
- Start the accompaniment from the same device and position every time.
- Let the full lead-in play.
- Enter on the rehearsed pickup.
Do not reach toward the phone or laptop during the first lyric. If one person is available to operate playback, give that person one exact cue. If the singer is working alone, use a setup that can be started without leaving the final mark or creating a visible scramble.
The track may need two or four clean counts before the accompaniment. A count should help the performer arrive; it should not sound like an unrelated voiceover or expose internal production notes.
Put the speaker where the recording can hear it
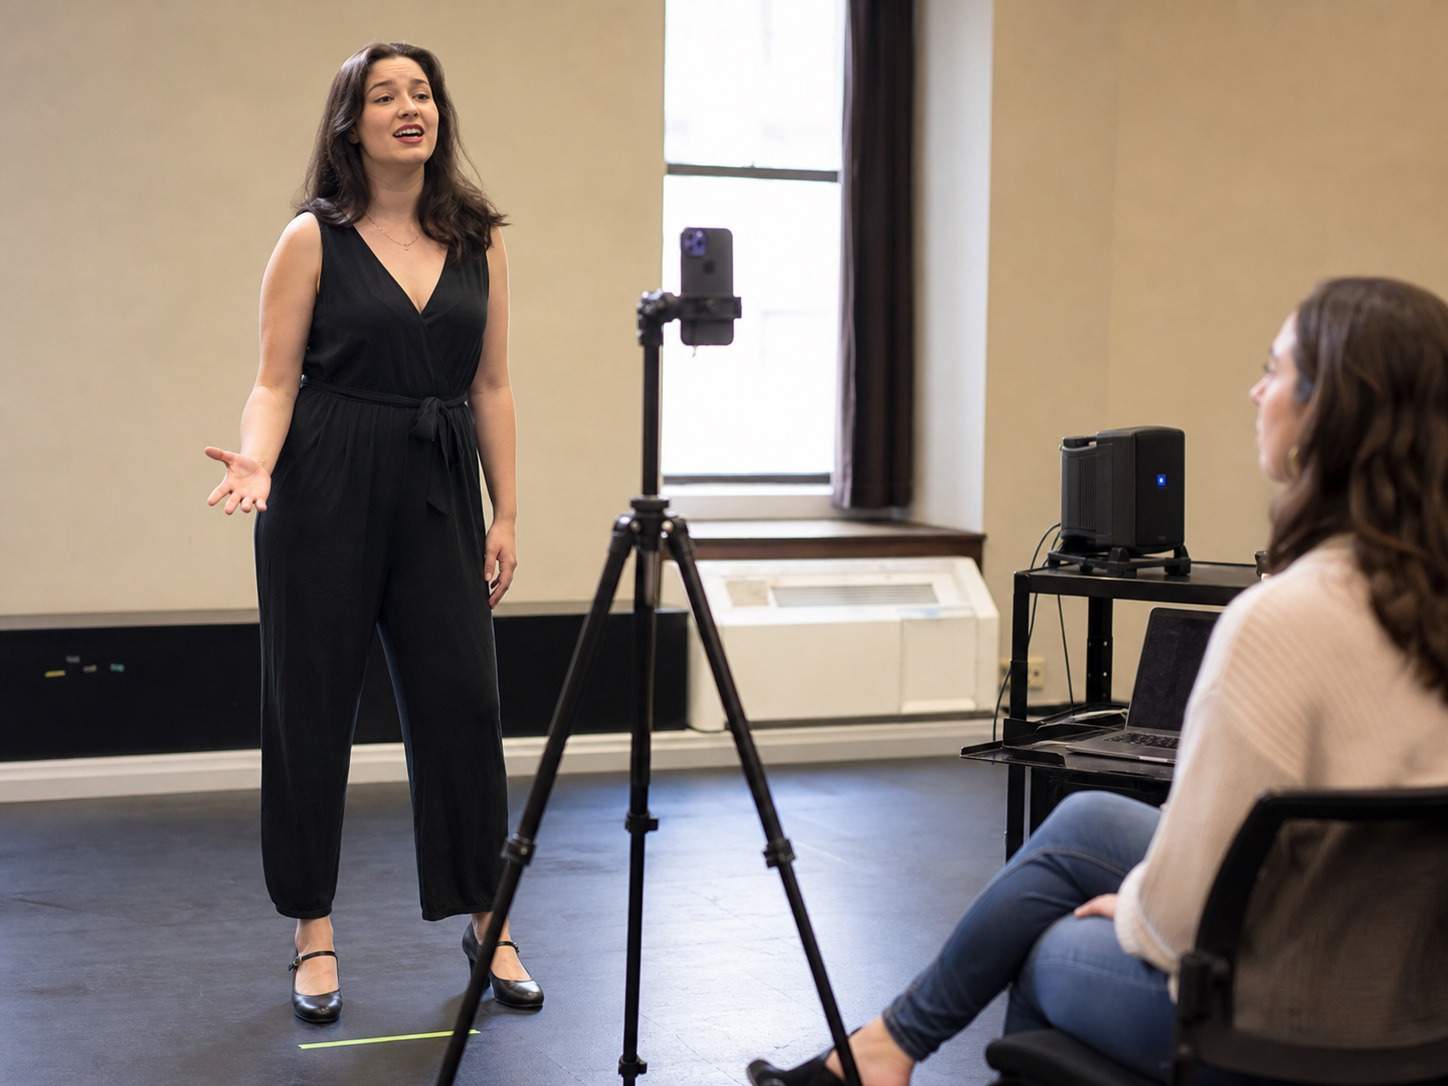
The camera microphone has to capture two sources at once: the live voice and the accompaniment coming from a speaker.
Start with the speaker near the singer and slightly off the camera axis, then record a short test. The University of Utah Department of Theatre's (self-tape guidance) similarly recommends playing singing accompaniment through a speaker and testing its placement rather than assuming the phone will balance everything automatically.
Avoid placing the speaker:
- directly behind the singer, where the body can block high frequencies;
- beside the camera at maximum volume, where the track may dominate the microphone;
- on a resonant table that adds rattles or bass vibration;
- in a corner that exaggerates low frequencies;
- or so far away that the accompaniment sounds like it is in another room.
A small speaker at moderate volume often records more clearly than a large speaker pushed hard. The goal is not to recreate a theatre sound system. The goal is an intelligible voice supported by audible music.
Run a ten-second balance test
Do not judge balance while standing in the room. Listen to what the camera recorded.
Test a section that contains both a quieter lyric and a fuller phrase. Then play the clip through ordinary headphones and the phone speaker.
Ask:
- Can every consonant be understood?
- Is the accompaniment present from the first note?
- Does the voice stay clear when the arrangement grows?
- Does the room add echo or harshness?
- Are there clicks, notification sounds, fan noise, or speaker distortion?
- Does the singer change volume because the track feels too loud in the room?
Change one variable at a time. Lower the speaker, move it a little closer, soften the room with curtains or furnishings, or shift the camera position. Then repeat the same ten seconds. A full performance is not a useful sound test if the singer has to guess which change helped.
Keep the track out of the guide-vocal phase
Guide vocals can be excellent rehearsal tools. They help a singer learn melody, phrasing, pickups, and the relationship between the vocal line and orchestration.
They are usually not the file to submit. A reference singer in the final audio can compete with the live performance, confuse the panel, and mask whether the auditioner is carrying the melody independently.
Use this progression:
| Rehearsal step | Best file | Purpose |
|---|---|---|
| Learn the notes and entrances | Guide vocal | Hear the melodic map |
| Check the cut and breath plan | Accompaniment track | Carry the line independently |
| Test camera balance | Exact final accompaniment file | Hear what the panel will hear |
| Record final takes | Same tested accompaniment file | Remove version surprises |
Do not change keys, tempos, or endings between the balance test and final recording.
Protect the acting from the audio setup
A self-tape is still an audition, not an equipment demonstration.
Once the balance works, make the setup disappear from the performer's attention. Put the playback device in Do Not Disturb mode, close unrelated applications, connect power when needed, and keep the final file downloaded locally so a weak connection cannot interrupt a take.
Name the file clearly:
Lastname_SongTitle_60sec_KeyF_Final.mp3
Keep the rehearsal versions in a different folder. A singer who has three nearly identical files on the desktop is one double-click away from recording the wrong key.
If the audition also requires an unaccompanied slate, record it at the same voice level and camera position. A slate that is very quiet followed by an over-loud track makes the whole submission feel inconsistent.
Shape the ending for the final look
The audio should help the final acting moment land.
For a button ending, let the chord complete before relaxing the focus. For a cutoff, know whether the voice or accompaniment ends first. For a fade, decide how long the performer holds the final look before the clip ends.
Avoid:
- several empty measures after the last lyric;
- a recording that cuts off the final chord;
- an unresolved accompaniment because the excerpt stopped mid-phrase;
- or a visible reach toward the device before the acting moment is complete.
When a stock track contains the right song but the wrong start, repeat, tempo, key, or ending, (Broadwaytrax custom track services) can shape the file around the requested audition cut.
Musical-theatre self-tape backing-track checklist
- Read the casting instructions before editing the track.
- Confirm the exact cut length, first lyric, and last lyric.
- Use the singer's rehearsed key and tempo.
- Add a clear lead-in without wasting the time limit.
- Use accompaniment without a guide vocal unless instructed otherwise.
- Download the final file locally and disable notifications.
- Place the speaker near the singer, away from rattling surfaces and corners.
- Record a short balance test and listen through the actual camera audio.
- Keep the voice intelligible when the arrangement becomes full.
- Use one clearly named final file for tests and final takes.
- Let the final chord and acting beat complete before ending the recording.
- Check the exported video once before submitting.
FAQ: backing tracks for musical-theatre self-tapes
Should the backing track be louder than the singer?
No. The accompaniment should be clearly audible, but the singer's lyric, tone, and acting choices should remain easy to understand throughout the cut.
Can I play the track from the same phone that records the video?
Usually, one phone cannot reliably record video while also serving as the playback device. Use a separate speaker, computer, tablet, or phone for accompaniment, then test the recorded balance.
Should I submit a track with guide vocals?
Use the accompaniment-only version unless the audition instructions explicitly request a guide or reference vocal. Guide vocals are primarily for learning and rehearsal.
How long should the intro be?
Long enough to let the performer settle and hear a reliable entrance, but short enough to respect the requested time limit. Two or four clear counts may be enough; the musical context should determine the choice.
What if the stock track does not match my audition cut?
Do not improvise around an unwanted dance break or repeat in the final take. Use an approved edit with the correct start, form, key, tempo, and ending, and rehearse with that exact file before recording.
The takeaway
Need an audition cut with the right key, lead-in, tempo, and ending? Broadwaytrax can shape a custom track around the exact self-tape request.
Build a Self-Tape TrackA strong self-tape track supports the audition without asking for attention. The singer hears the entrance, the camera captures both voice and accompaniment, the cut moves at the rehearsed pace, and the ending gives the acting somewhere to land.
Test ten seconds before recording ten takes. Fix the file when the cut is wrong. Then let the panel focus on the performer, not the playback setup.